Create and setup an account
Registering and selling with Tentary is easy. In the following article, we will show you how to create a new account at Tentary and how to set it up.
On this page
Register a new account
Click on Try for free to create your Tentary account. In the fields provided, enter your name, e-mail address, a secure password, and your desired shop URL.
Note: You can change this information later in your account settings.
By clicking on the Create Account button, you accept our Terms and Conditions, Privacy Policy and Data Processing Agreement, and create your Tentary account.
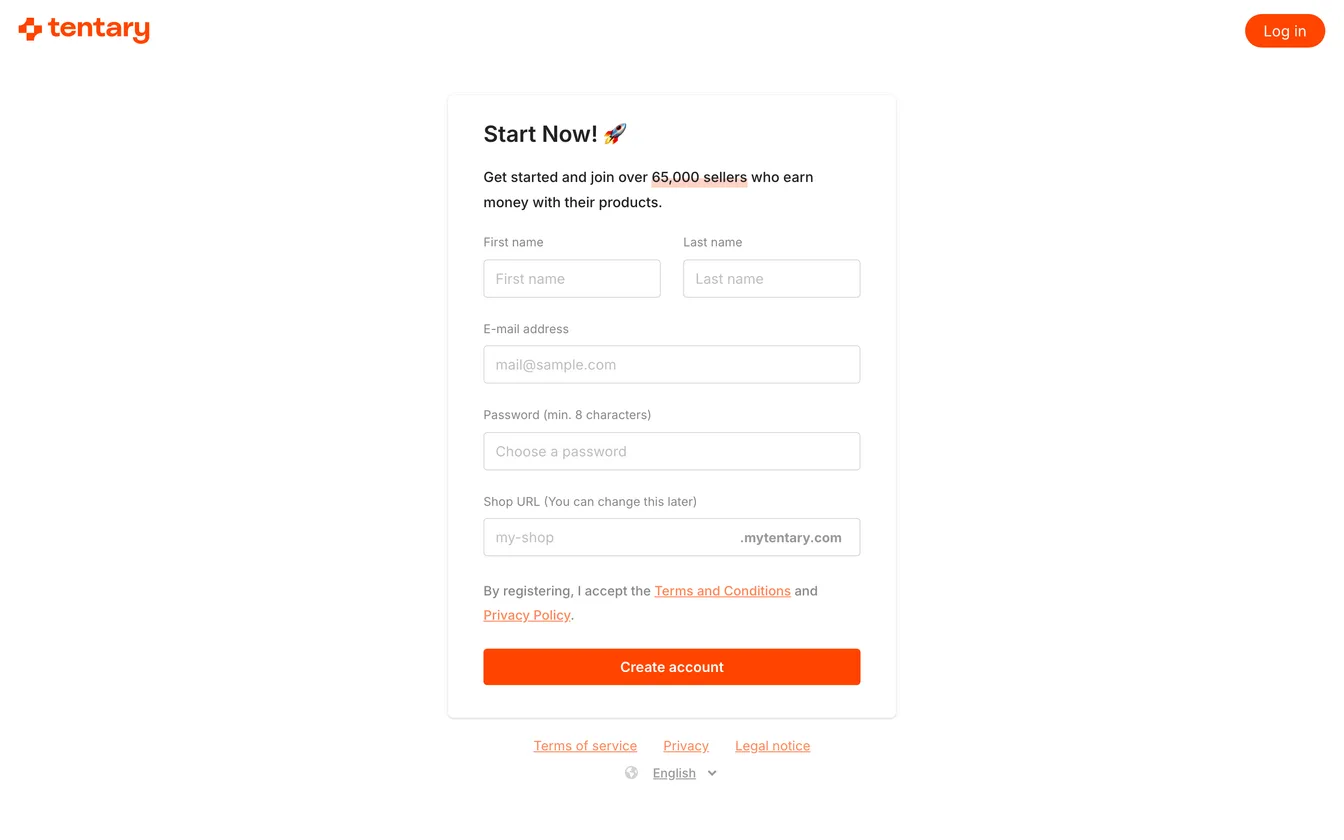
To confirm your account, we will then e-mail you with a link to activate your account.
Click on the button Confirm e-mail.
Once you have confirmed your e-mail address, you will get access to your Tentary account and land in the dashboard. On the left side, you will see the menu that gives you access to the different subpages and features. At the top of the dashboard, the Getting started checklist walks you through setting up your account. It lists six steps, from confirming your email address to publishing your first product, and shows how many of them you have already completed.
To log out of your account later, click on the arrow next to your profile picture in the top right-hand corner and then on Log out.
Set up your account
Before you continue setting up your account, you can already try out almost all of Tentary’s functions. You can only publish products once you have completed all the onboarding steps. These are displayed in the dashboard in the Getting started checklist.
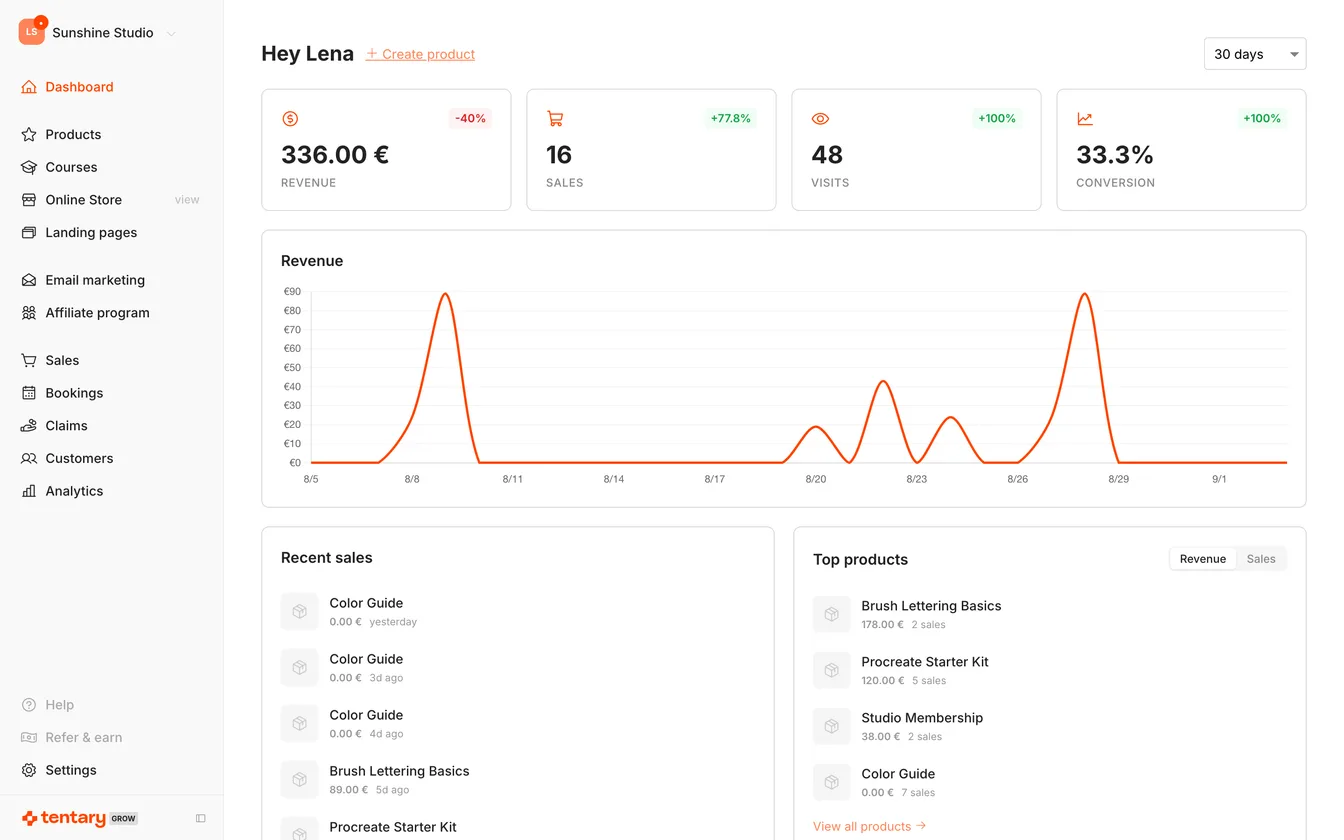
Create your first product
The best way to start is to create a test product. This lets you quickly see what features Tentary offers you for selling your products. To do this, either click on Create Product in the Getting started checklist on the Dashboard or on Products in the menu and then on + New product.
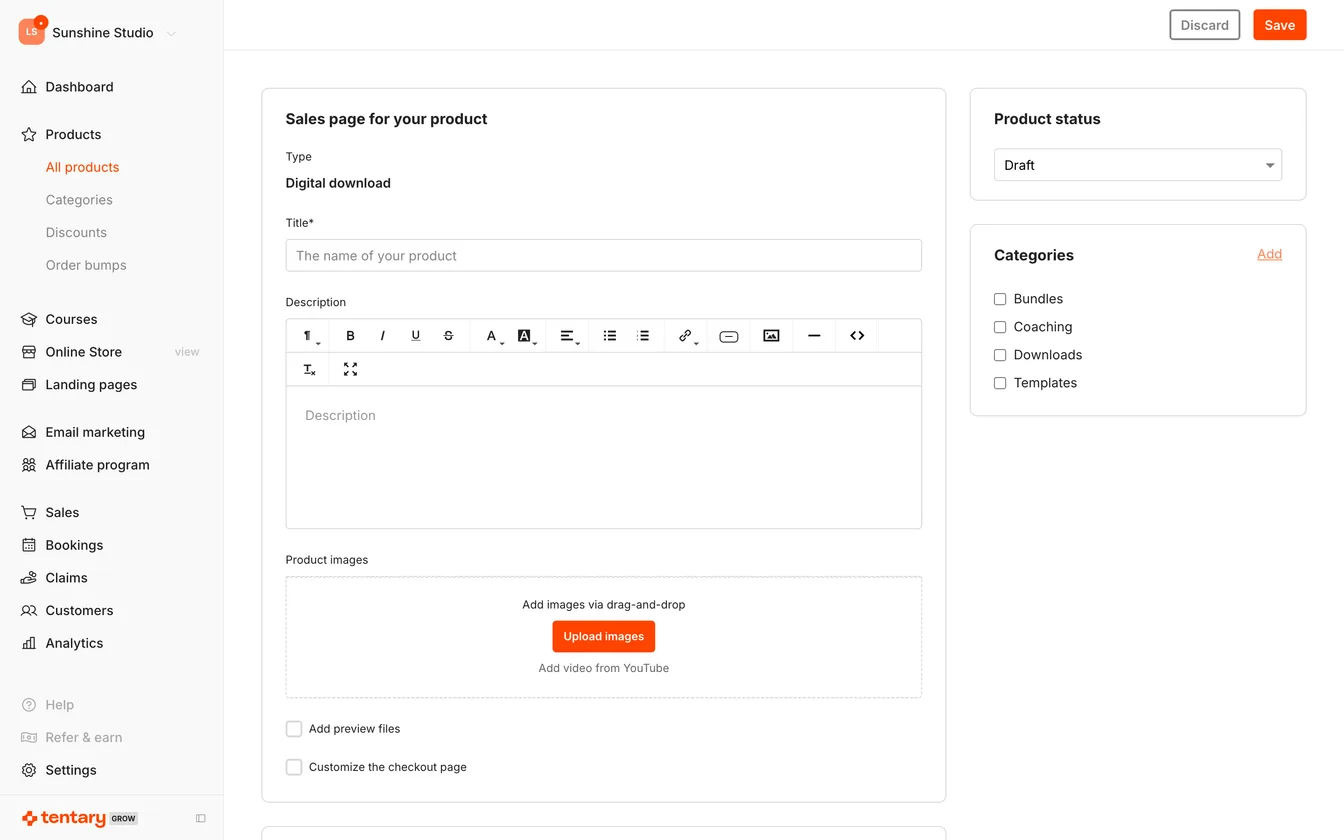
A detailed explanation of all the functionalities on the products page can be found here: Create a new product.
Note: As long as your account is not fully activated, you can only save products as drafts.
Enter your address data
After you have familiarized yourself with Tentary, you should complete the remaining steps to activate your account and start selling your products.
First, enter your complete address. This address is shown on customer order confirmations and on invoices for the Tentary transaction fees. Navigate to the settings and click on Billing settings and address.
On the next page, enter your address information in the appropriate fields. You can also enter an e-mail address for customer inquiries and make settings regarding the tax regulations that apply to you.
Note: Since you are selling on your own behalf with Tentary, your address will be displayed on the sales pages of your products. This is legally required because buyers need to know who they are buying from.
Link a payment method
As mentioned before, with Tentary you sell in your own name. This gives you some advantages, such as more flexibility in selling, you always receive your earnings directly to your own account and your customers are really your customers.
To make this possible, it is necessary that you have your own account with payment providers and link them to your Tentary account. For this purpose, we work with Stripe, Mollie and PayPal.
You can either choose only one payment provider or two (Stripe and PayPal or Mollie and PayPal).
Click on the desired payment provider in your account settings and start the linking process.
With Stripe or Mollie, you create a new account in this step and connect it to your Tentary account.
If you want to use PayPal, you can either create a new account or connect an existing one.
Note: You can also find more information about the payment method setup in the articles How to configure Stripe as a payment provider?, How to configure Mollie as a payment provider? and How to configure PayPal as a payment provider?.
As soon as your payment provider(s) are set up successfully, the status changes to active.
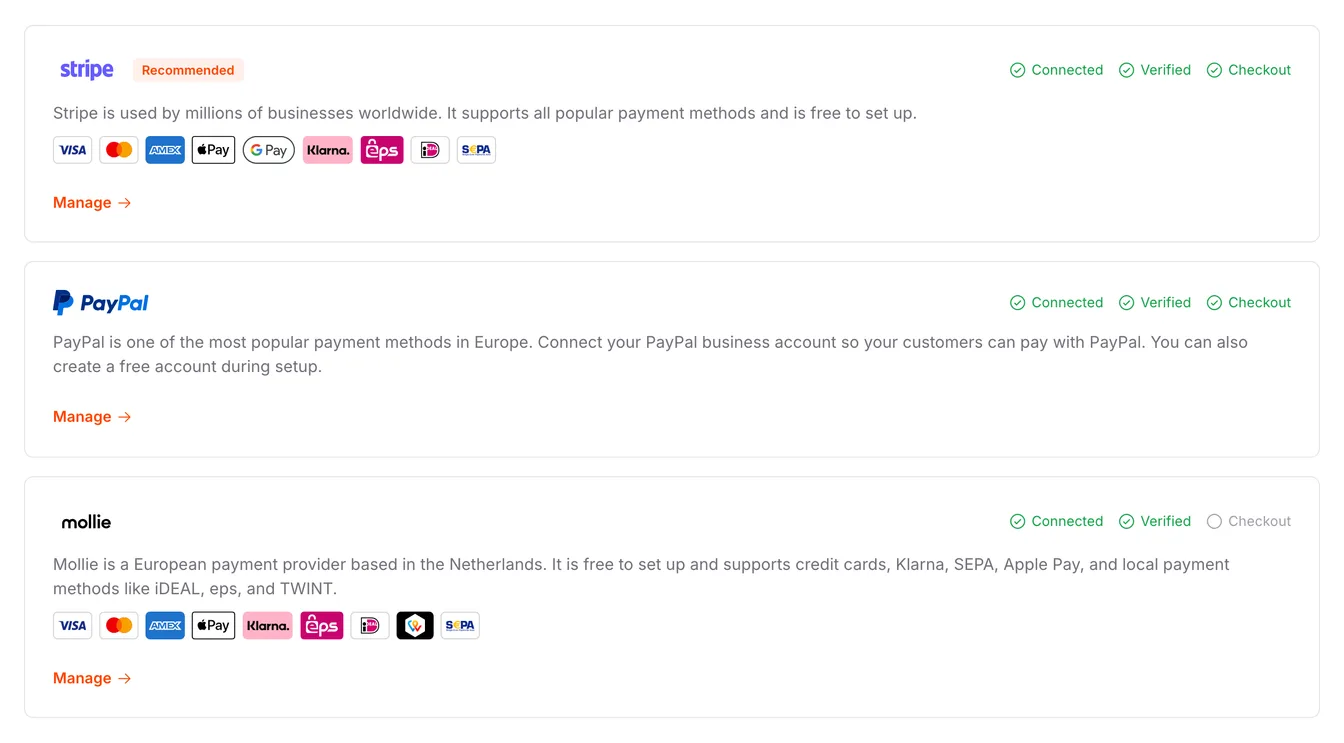
Note: Stripe, Mollie and PayPal are among the world’s largest payment providers and ensure that your payments are processed securely and smoothly.
Add terms & privacy
As a seller you need your own legal texts. Open Settings > Legal and add your terms of service, your privacy policy, your imprint and your cancellation policy.
The article Setting up Terms of Service, Return and Refund Policy, Privacy Policy and Contact walks you through it.
Publish a product
Once you have entered your billing address, configured at least one payment method and added your legal texts, you can publish your first product.
Go to your products and select one of your previously created products. Change the product status from Draft to Live and save to publish your product.
You will then be shown a link to the sales page of your product or the code for website integration. This allows you to easily share your product on social media, for example, or integrate it into your website.
Choose a plan and go live
Setting a product to Live is the last step of the checklist. Your shop and your products only become reachable for customers once you have picked a monthly plan.
Below the checklist you will find the Launch your shop section for exactly that. Click Choose plan & go live, pick your plan, and your shop goes live.
For an overview of the plans and prices, see our pricing page. The article What Fees Apply When Using Tentary? explains what a sale costs you.
You have completed all steps of the onboarding process and are ready to sell products with Tentary. We wish you much success!
There’s always something new to discover at Tentary! We are constantly developing our platform and adding new features to help you sell your products. Keep up to date with the changelog.
Last updated October 6, 2025