Customize the design of your sales page
You can customize the look of your sales pages to fit your products and target audience.
The design page is where you set how your shop and your sales pages look. You work in a page builder and see your changes in real time. The design applies to all of your sales, checkout and download pages.
Note: Your changes only become visible once you save. Reset takes you back to the default settings.
The appearance of your shop page depends on the design settings you choose and the areas (title, description, social media links, etc.) you fill out. The layout, colors, font styles, and button shapes are controlled via Shop > Design, affecting both the shop page and sales pages.
When you open this page, you’ll enter the page builder, where you can preview changes to the shop page and individual product pages in real-time. A design preview for different (sized) views based on device type is also available.
Theme
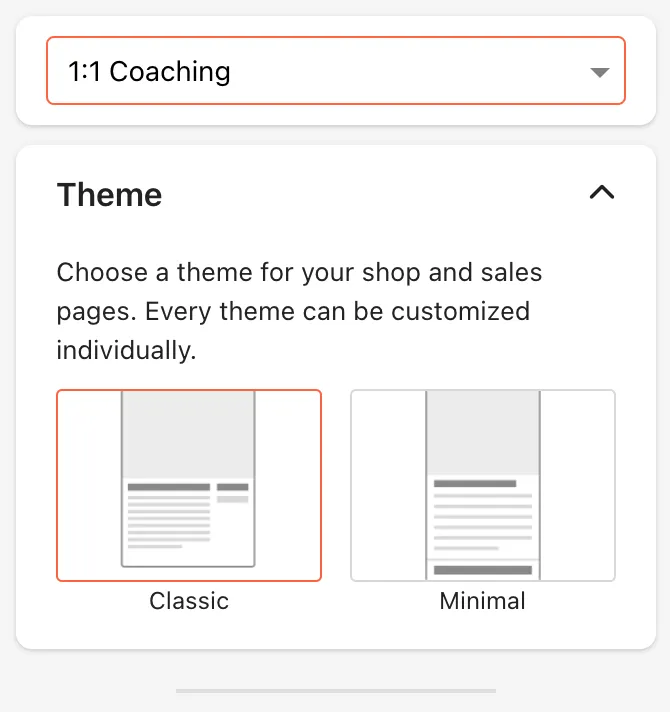
At the top, you can select a theme (design template). You can choose between the Classic, the Minimal or the Link-in-Bio theme. After selecting a theme, you can preview how the shop page and each product page look with the chosen theme.
Colors
In the Colors section, depending on the theme, you can choose between 2 and 5 different colors to use across your shop and all related pages.
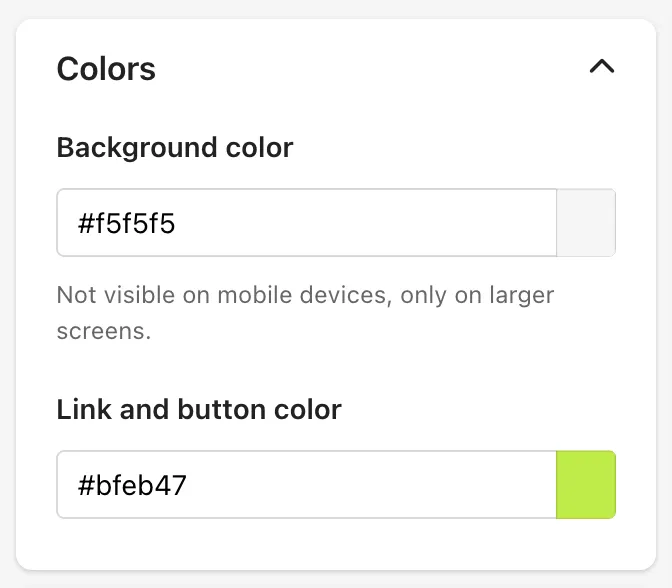
The background color appears on devices with a width of at least 650 pixels. To change it, click the color field and either use the slider or enter the hexadecimal color code.
The button and link color determines the color of all buttons and links displayed on the shop page, sales pages, and during the checkout process.
Fonts
In the Fonts section, you can choose one font for headings and another for body text. Click the preset font and select from classifications such as sans-serif, serif, handwriting, display, or monospace, and choose your desired font.
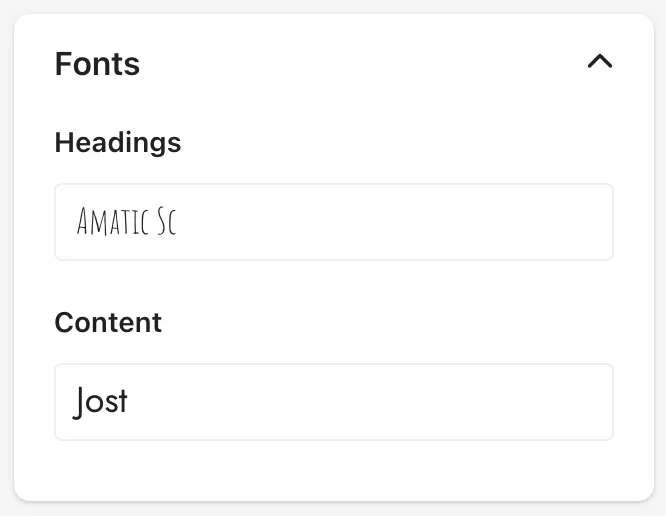
To exit the selection, click the X at the top.
Buttons
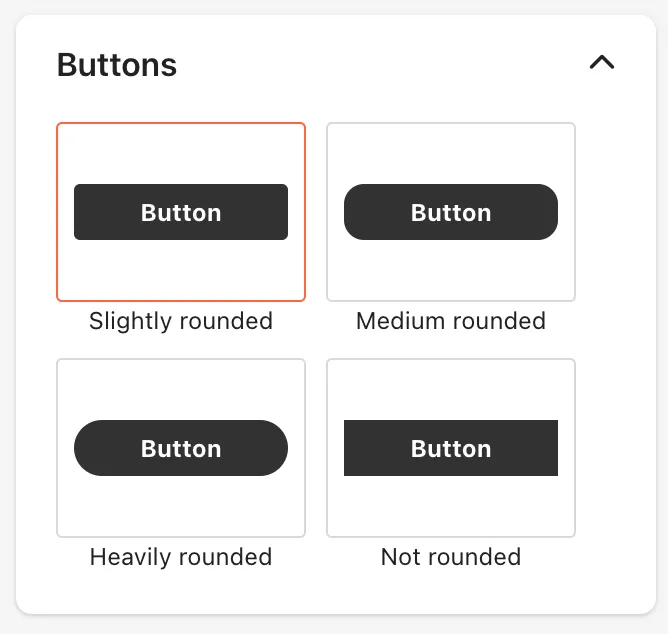
To customize button shapes, choose from four different forms in this section:
General
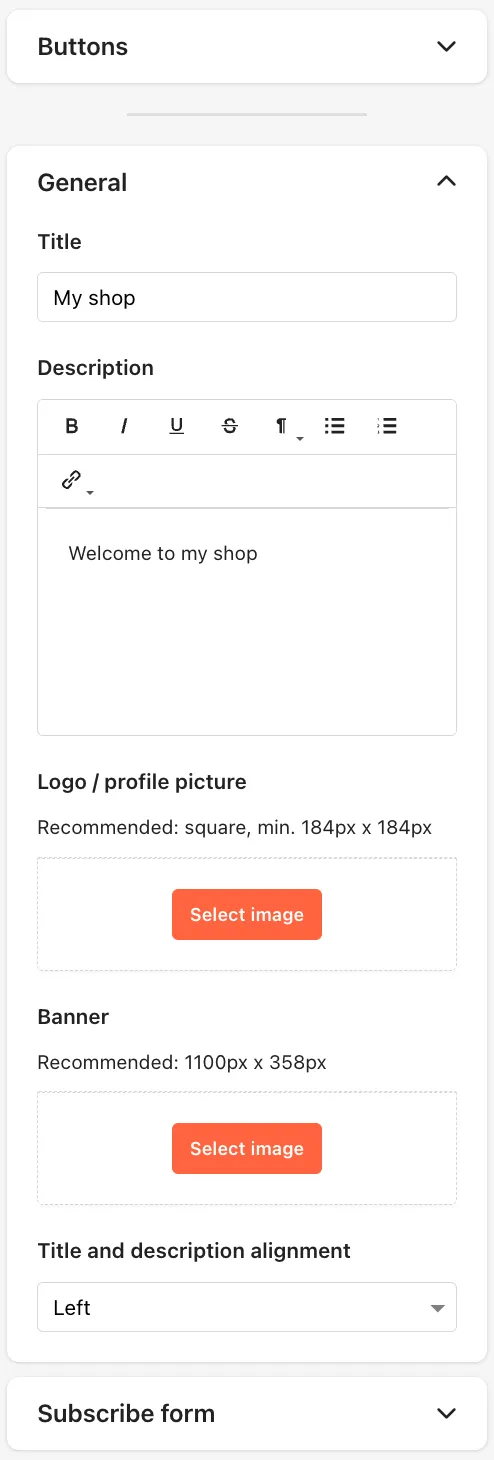
In the General section, you can give your shop a title and add a description so that your customers know immediately what to expect from you.
You can also upload a logo/profile picture and select a banner or background image, as well as which orientation (left, center, right) your title and description should have.
Subscribe form
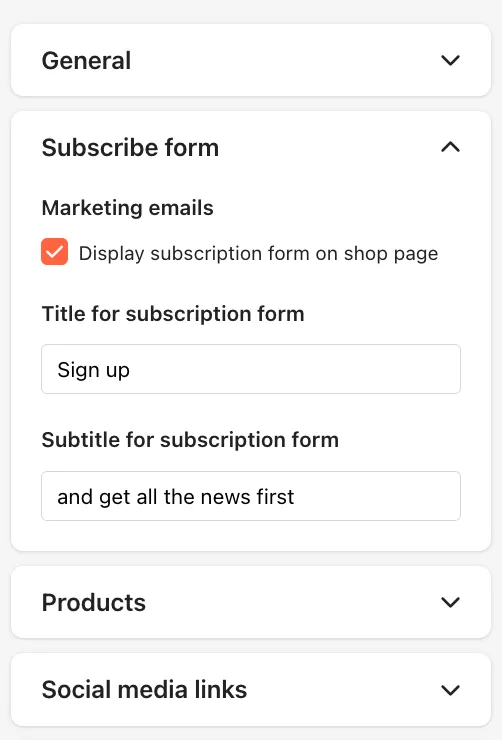
You can enable or disable a newsletter signup form displayed below the product catalog and above the footer, and assign it a title and subtitle.
Products
To assign a different order to your products, you can use the drop-down menu to specify the criteria (title, price, creation date, update date and user-defined) according to which your products should be sorted.
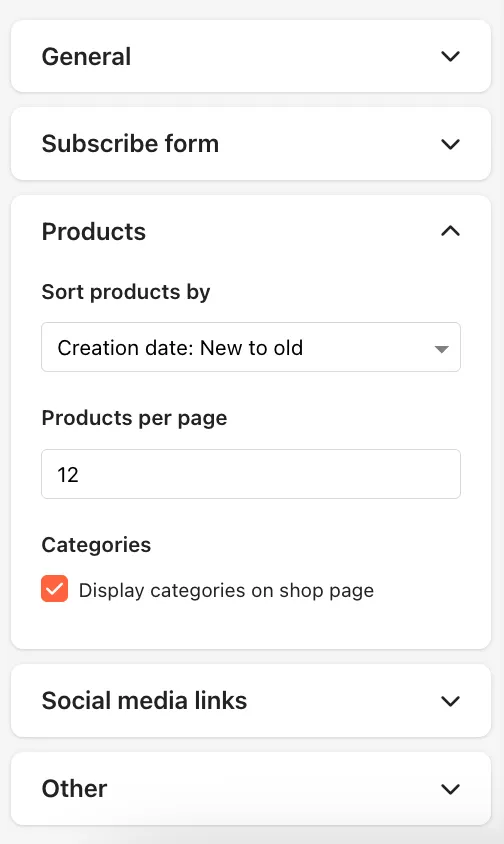
You can also set how many products are displayed per page.
If the Display Categories on the Shop Page option is enabled, the categories you’ve created will appear as a dropdown menu in your shop. Customers can use this menu to view products from specific categories.
Social Media Links
You can link your profiles or pages on popular social media platforms via the respective fields.
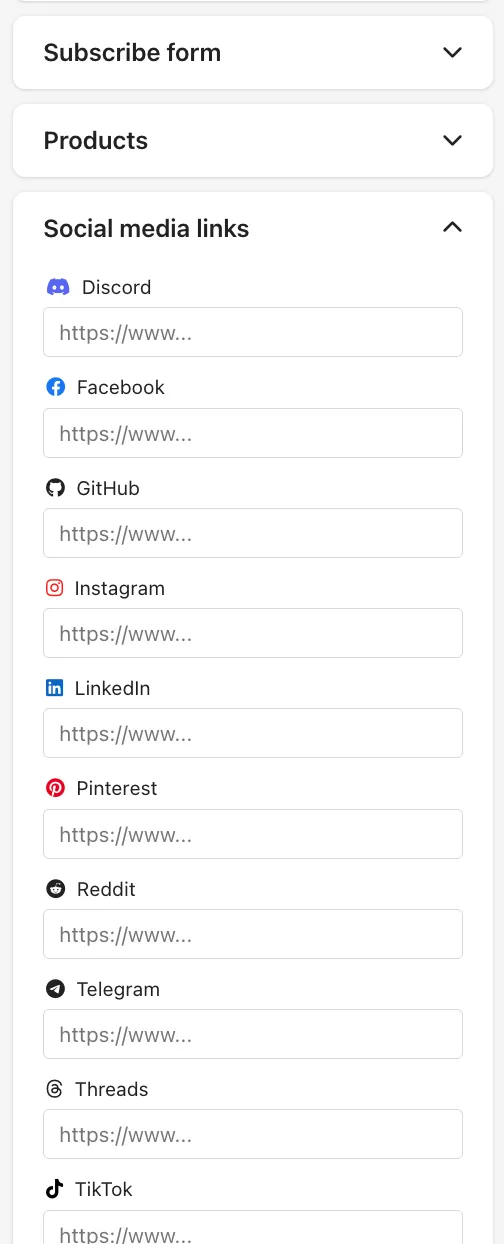
The links will appear with their logos below the description on your shop page.
Other
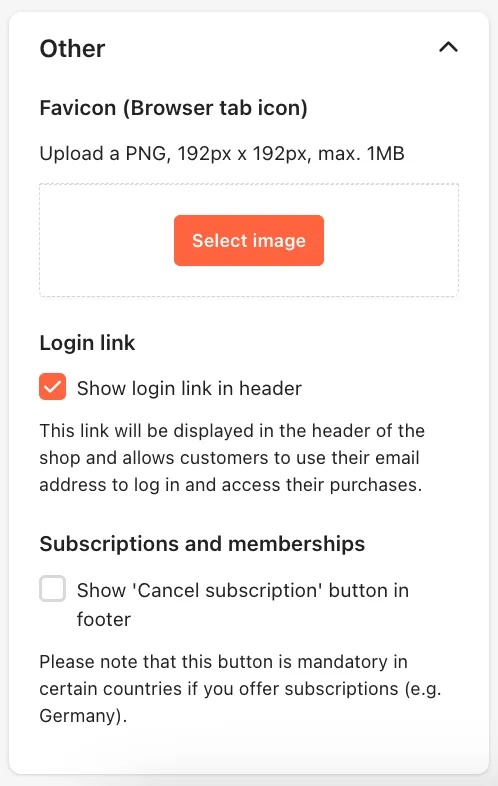
In this section you can upload a favicon for your store and set whether you want to display a login link in the header and a cancel subscription link for your subscriptions and memberships in the footer.
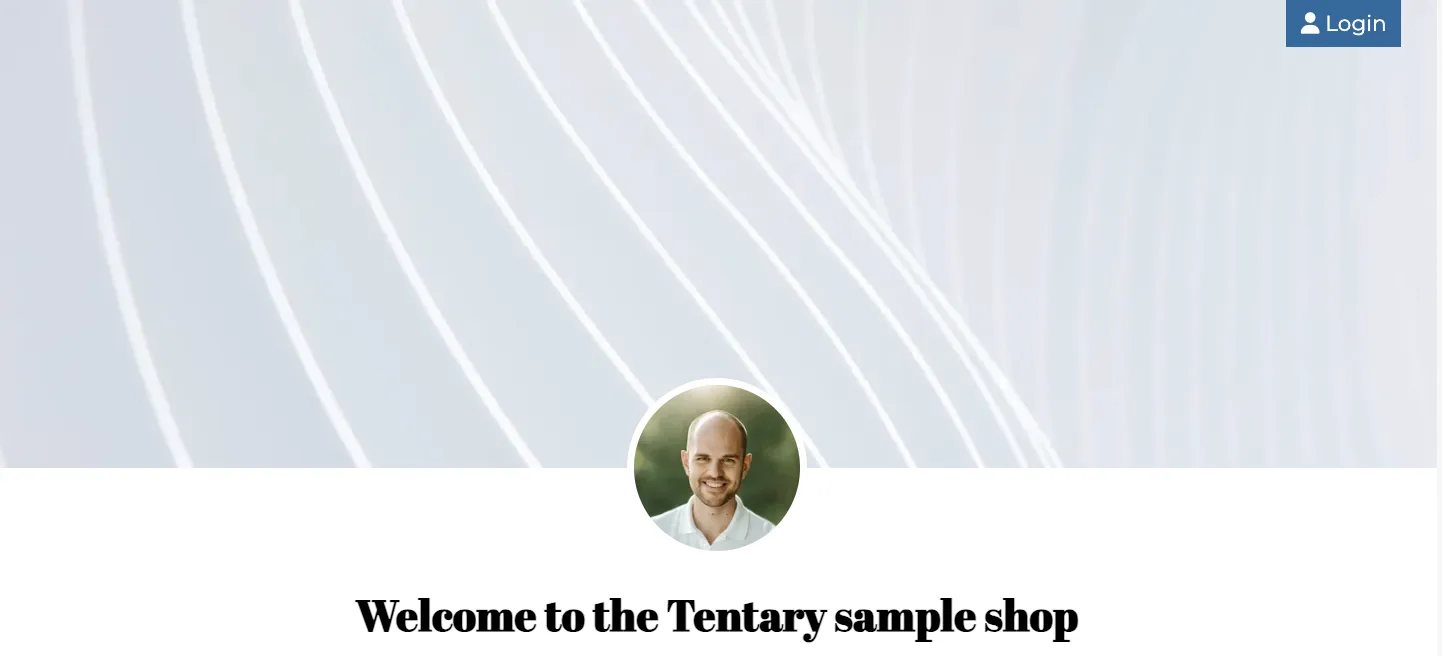
If the login link is enabled, customers can verify themselves and access their purchased products with a single click. The link is displayed directly above the header, as shown below:
Last updated June 6, 2025