Send Invoice Retrospectively
Your customer needs an invoice but did not request one at checkout? Here is how to create and send the invoice afterwards.
Open the order under Sales. The Invoice section shows whether an invoice exists. How you proceed depends on whether Tentary already knows your customer’s address.
If the address is missing
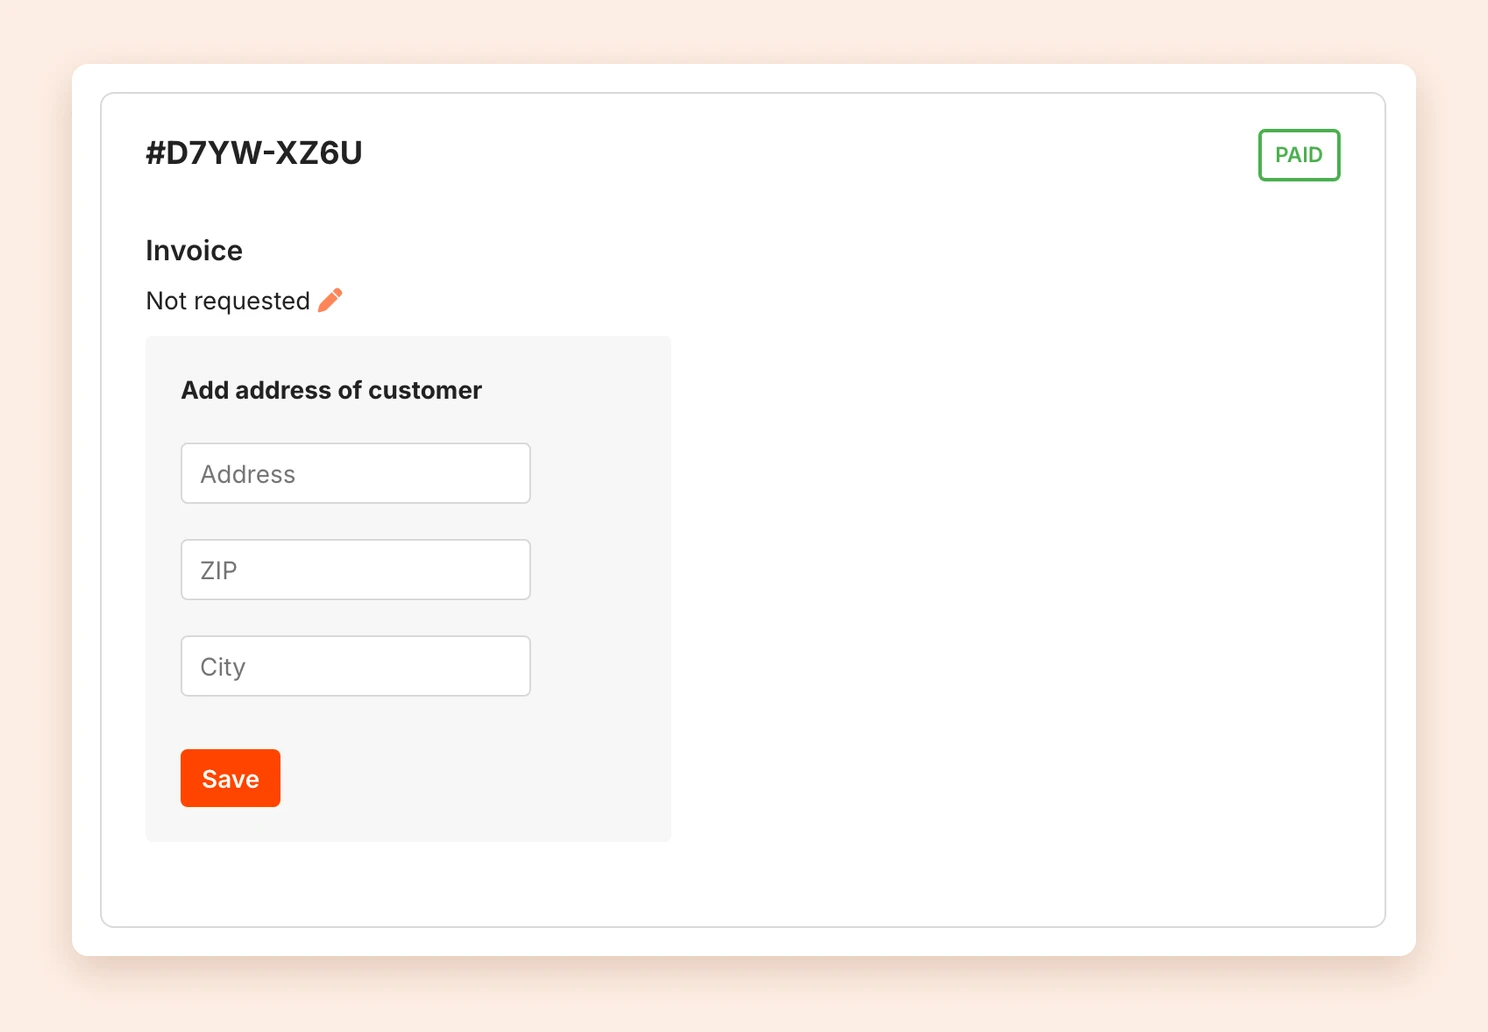
If the Invoice section shows Not requested, follow these steps:
- Click the pencil icon next to Not requested. The form Add address of customer opens.
- Enter your customer’s Address, ZIP and City.
- Click Save.
Tentary then creates the invoice automatically and sends it to your customer.
If the address is already there
If your customer entered their address during checkout but did not request an invoice, the Invoice section shows their name and address and the Create invoice and send button. One click is enough: Tentary creates the invoice and sends it.
This happens, for example, if you chose Do not create invoices and switched on Still ask for the billing address during checkout. See invoicing for sales.
Good to know
- To create a valid invoice, Tentary needs your tax number or VAT ID. Without one, you see a notice with a link to your invoice settings instead.
- You can see when the invoice was sent at the bottom of the order under Activities.
- Free orders have no invoice.
Last updated October 13, 2026